Crafting a Canarywood Custom Ottoman Top
We’re pretty biased, but we think Cormark International has the opportunity to work with some of the coolest woodworkers. It’s great fun when we have the opportunity to help customers choose the perfect wood for a project, or sometimes the wood they just can’t leave without and have no idea what they’re going to do with it! The best part is when we get to see what the wood becomes.
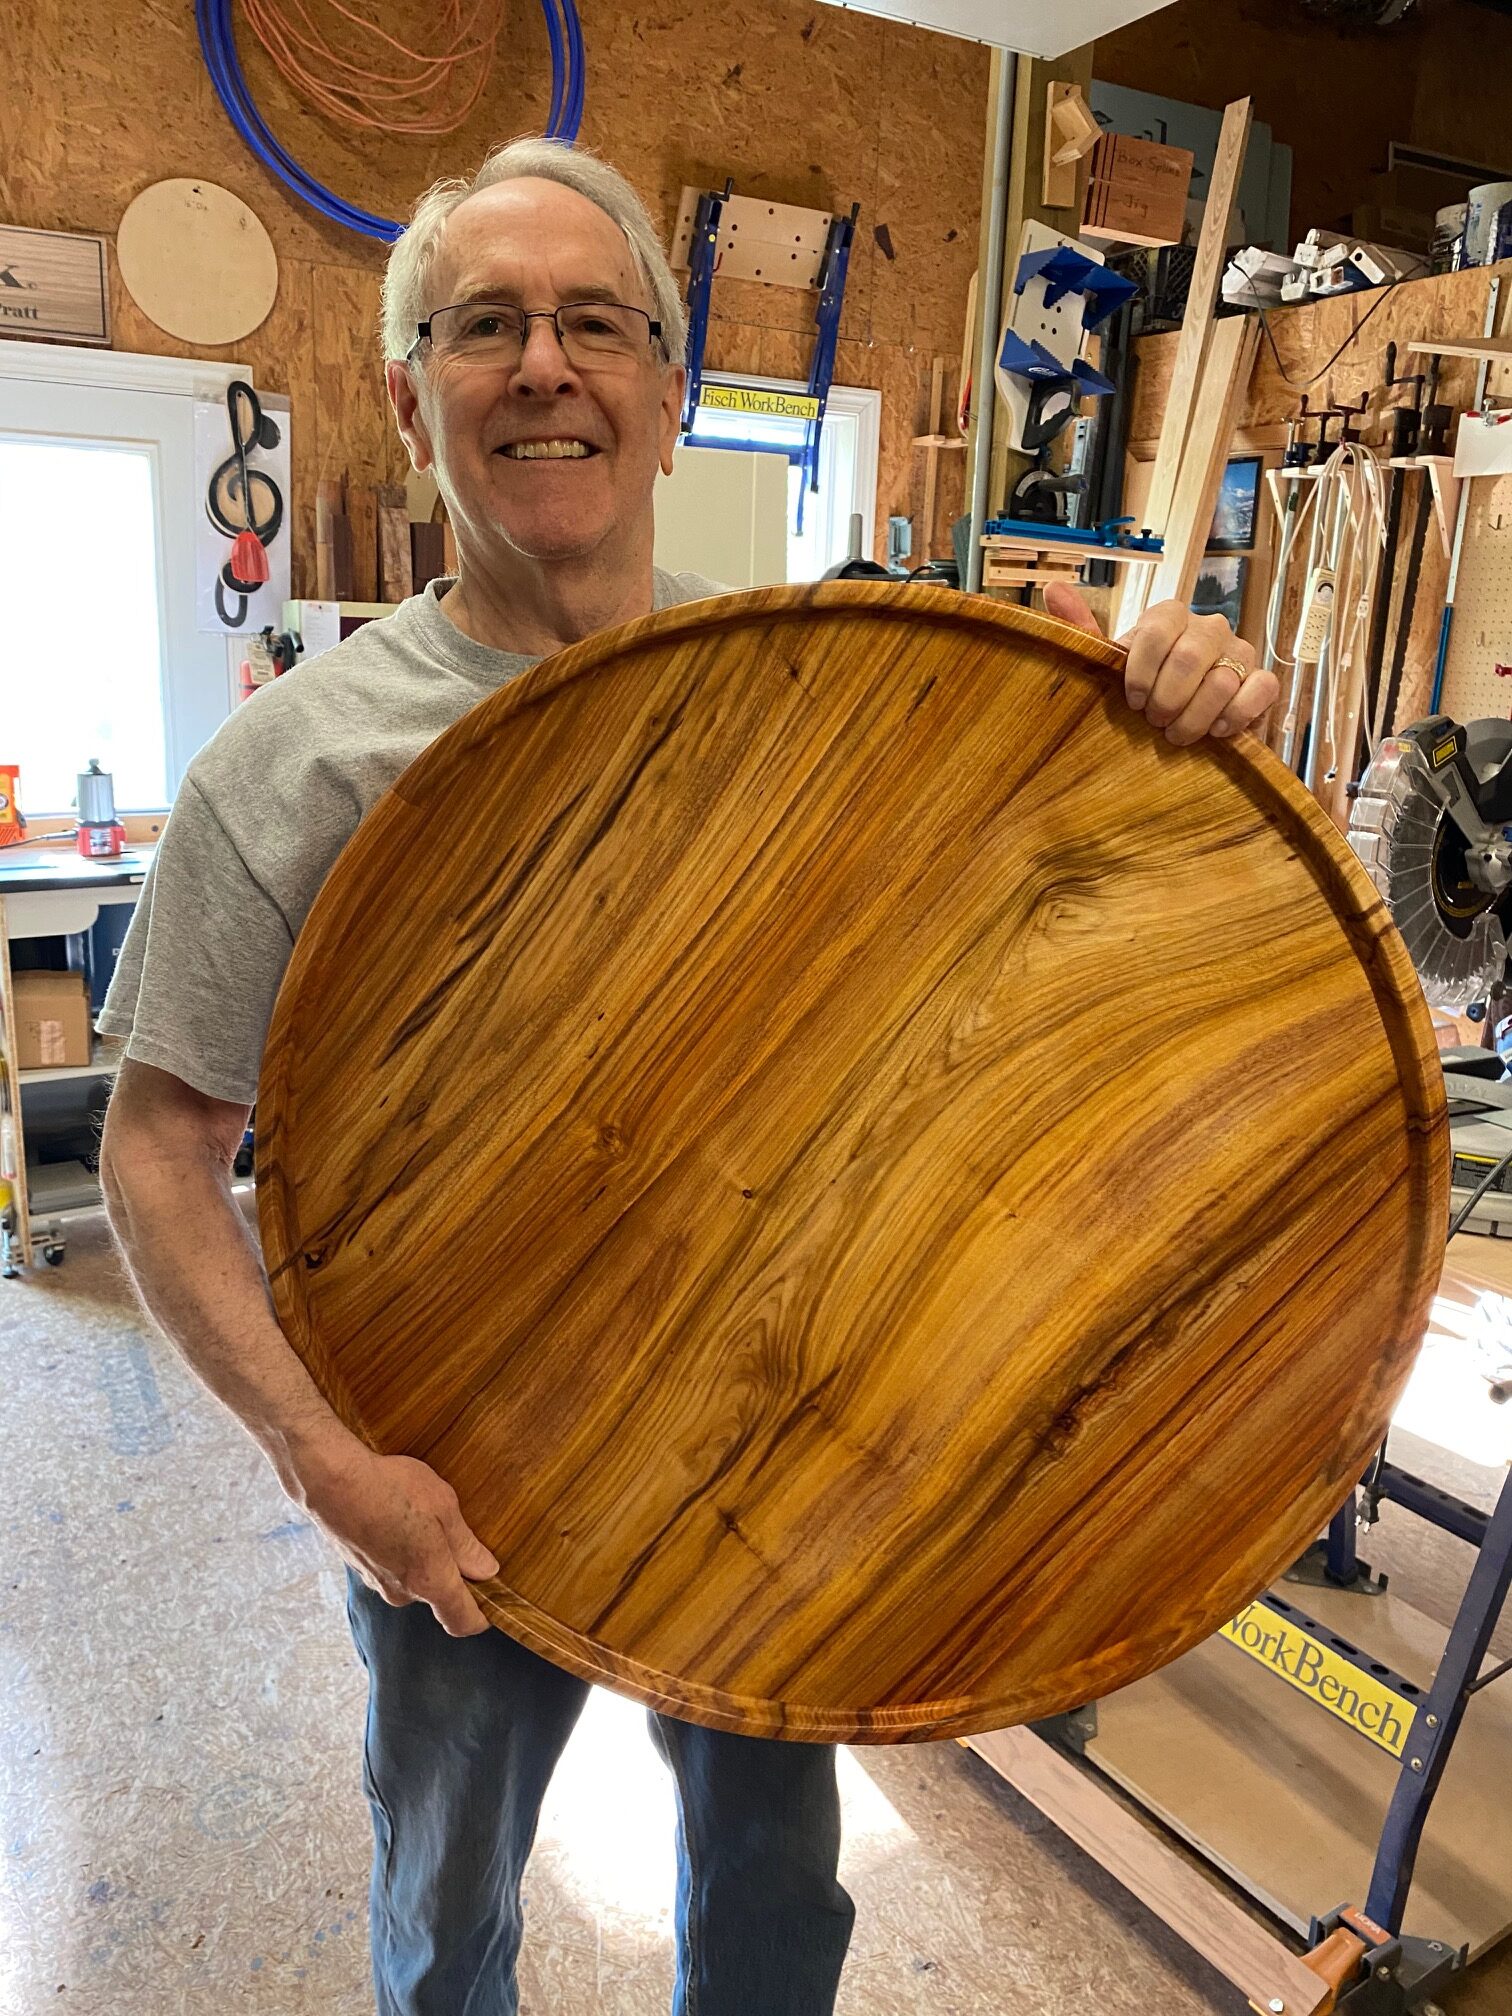 A big thanks to Phil Pratt at Silverhawk Custom Woodworking Shop for sharing his journey with us. Here’s his story about a one of a kind Canarywood custom ottoman top he crafted.
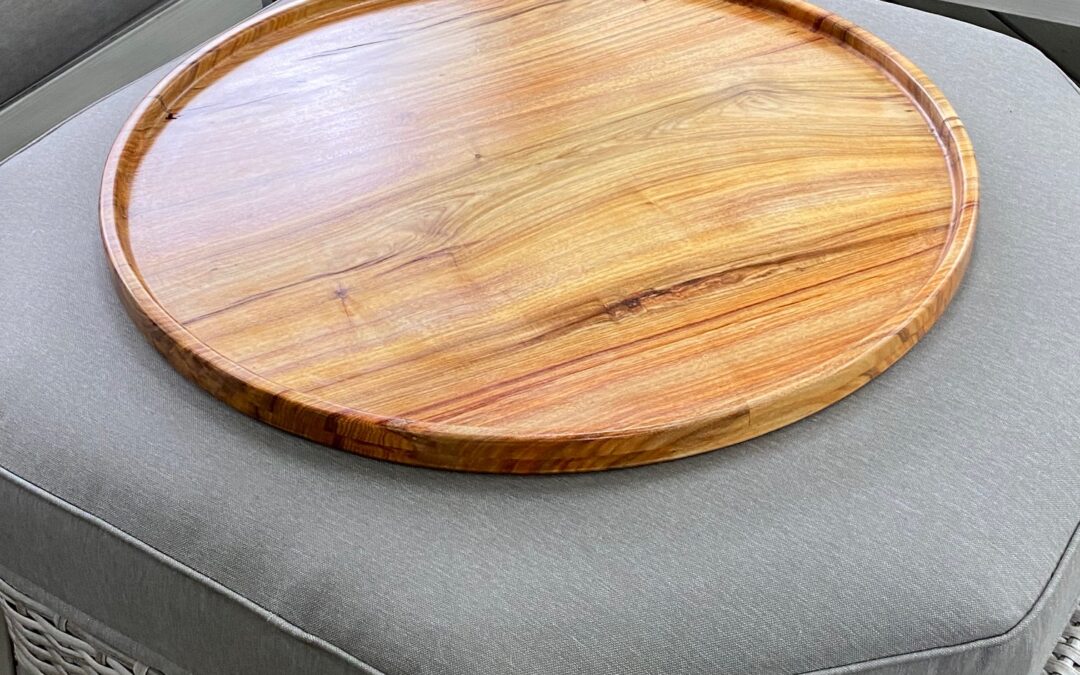
A 30-Inch Wood Serving Plate?!
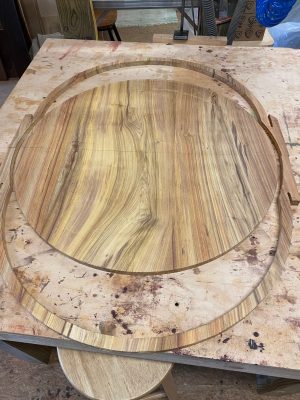
Even though it looks like a plate, it is actually a 30” diameter top for an ottoman. The top is used to convert it from a cushion top to a coffee table. The yellow appearance comes from the Canarywood supplied from Cormark International. The wood is a species found in South America.
The making of this unique “plate” took a little bit of thinking as I wanted the beautiful grain pattern to flow to the perimeter into the raised rim. There were several ways to approach this concept. One method was to find a 2” thick wood slab and remove the material in the concave surface. One does not easily find wood of this dimension and it would have been super expensive, so another approach was needed. I thought about gluing two layers of wood together, but they would have had their own unique grain pattern. This would not achieve my objective.
After a couple of sleep deprived nights, I finally decided to capture the grains from “extensions” of the original wood as shown in the next few photos.
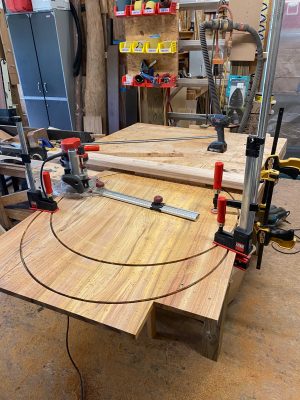

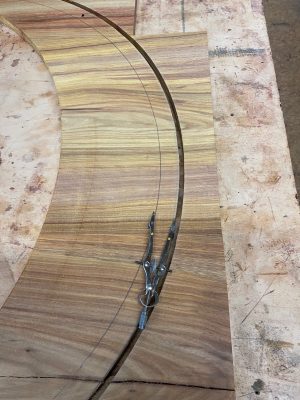
First, I used a router with a Milescraft Circle Guide to cut the perfect radius. By keeping the exact same radius and moving beyond the 30” diameter circle on either end, I also cut the outside radiuses for the rim. Next, I used a compass to scribe a line 1” thick which would ultimately become the rim. With the pencil lines drawn, I took the pieces to my bandsaw and cut just proud of the scribed line. Now I had the following configuration:

Finishing Touches:
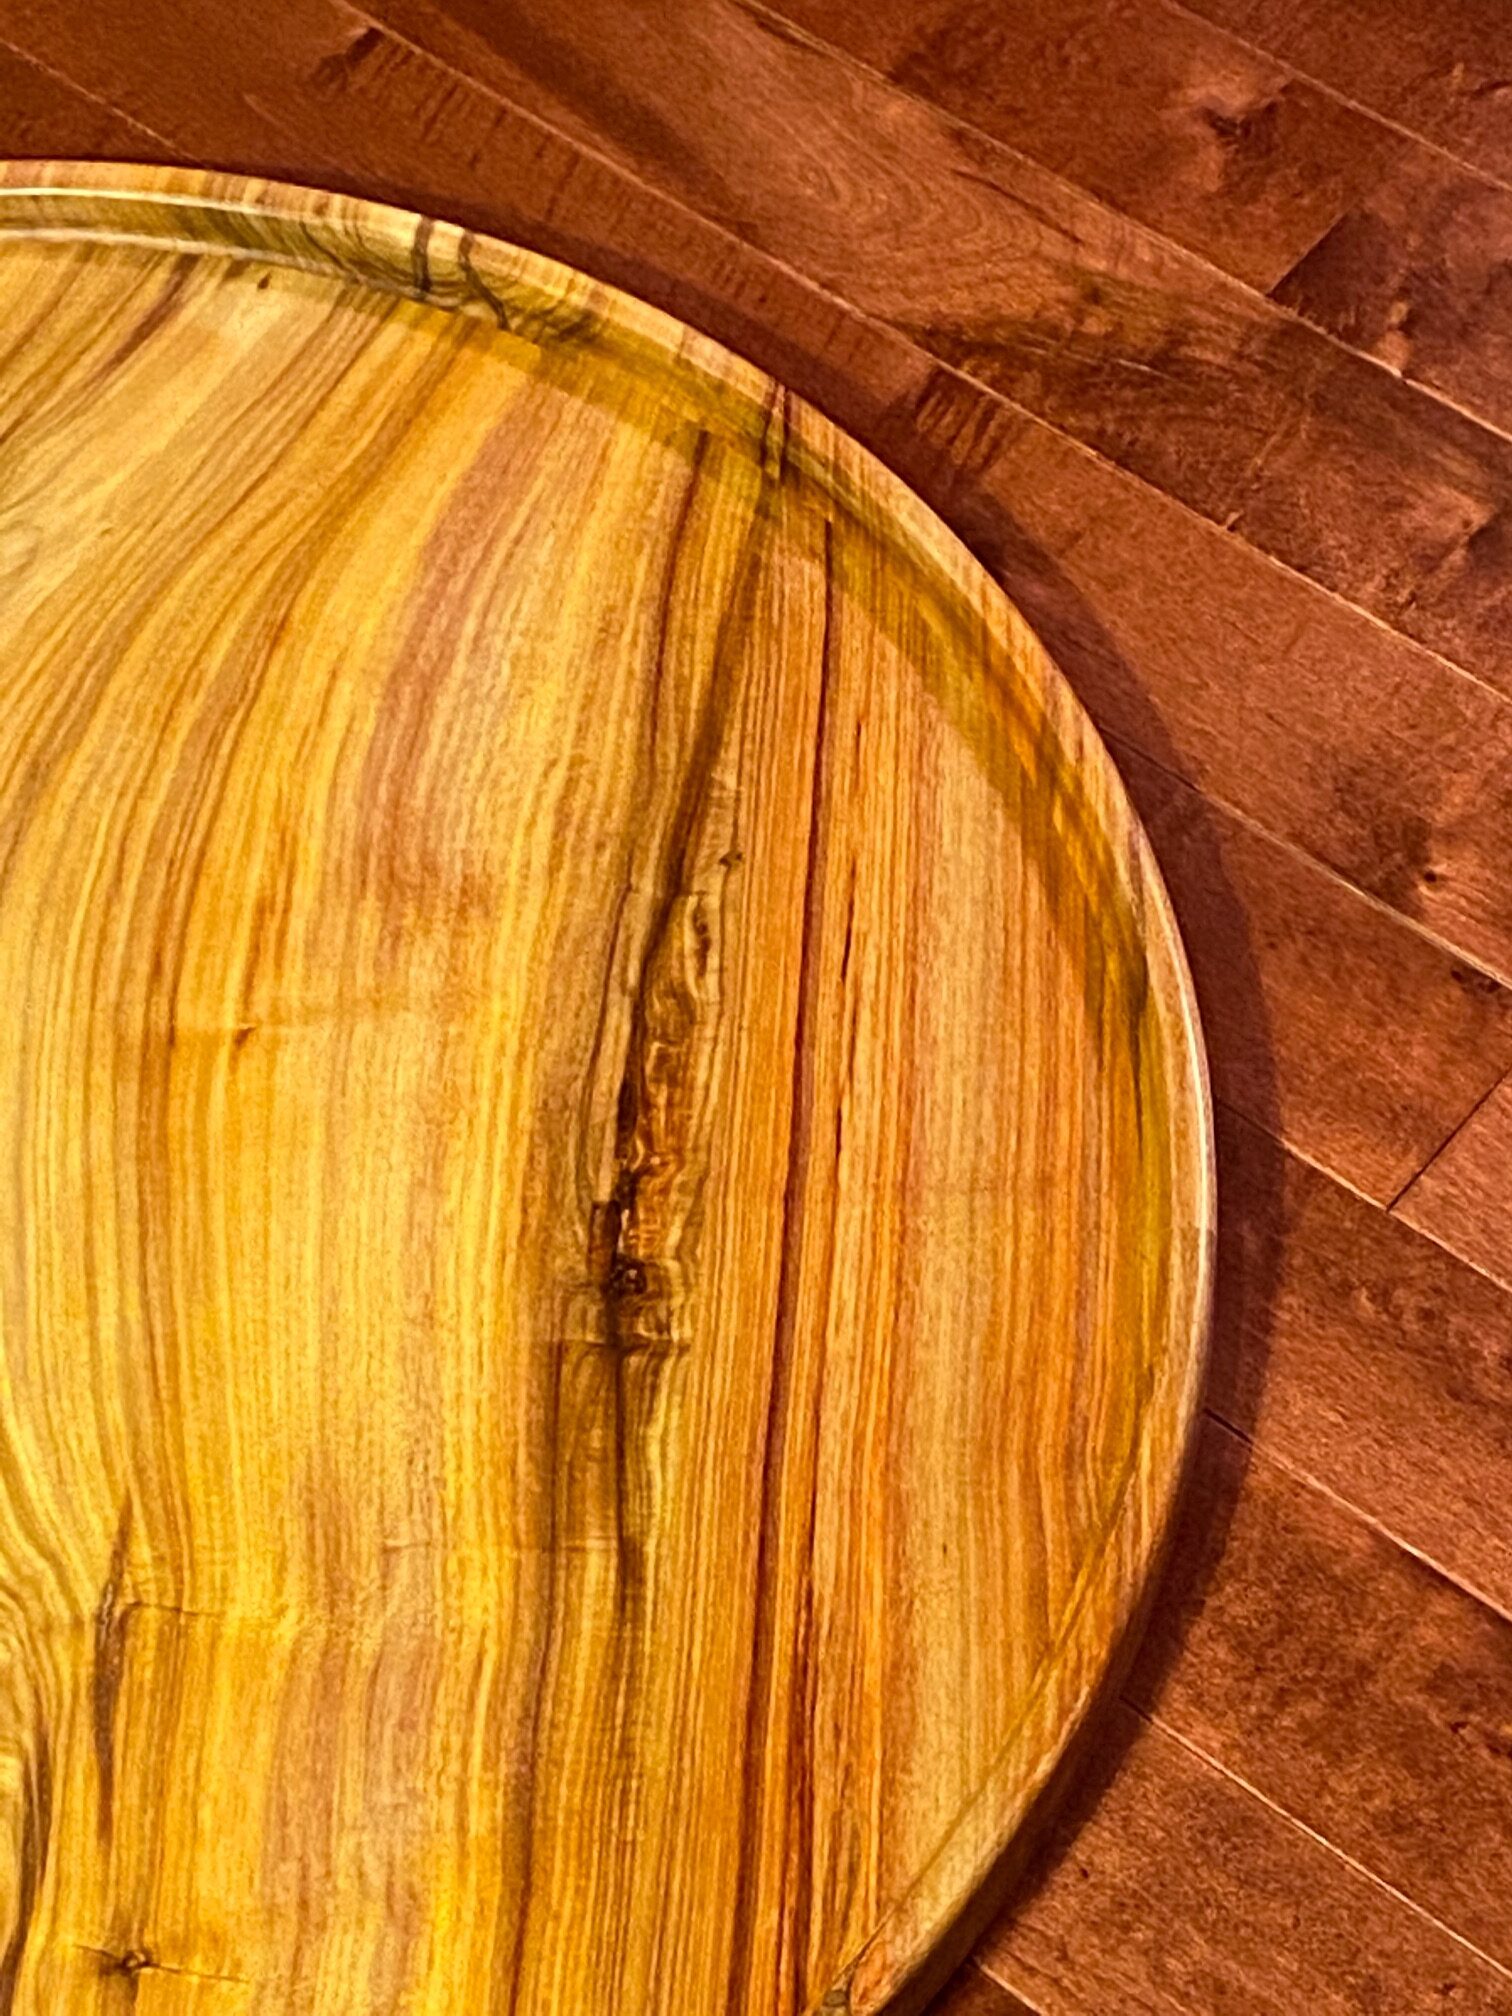
From this point it was a matter of gluing the rim into place as shown. Then I routed the inside edge curvature with a flat-bottom cove bit and the outer edge with a flush trimming bit. And then lots of sanding and several coats of sealer and many more layers of lacquer to weatherproof it. While it’s not directly exposed to the elements, it is in a screened-in sunroom.
As you can see, I’m loving the challenges that woodworking presents. This is exactly what I want in my retirement. Can you tell that I’m enjoying life?!
Learn more about Phil and SilverHawk on their website or visit his etsy shop for home made woodcrafts available for sale.